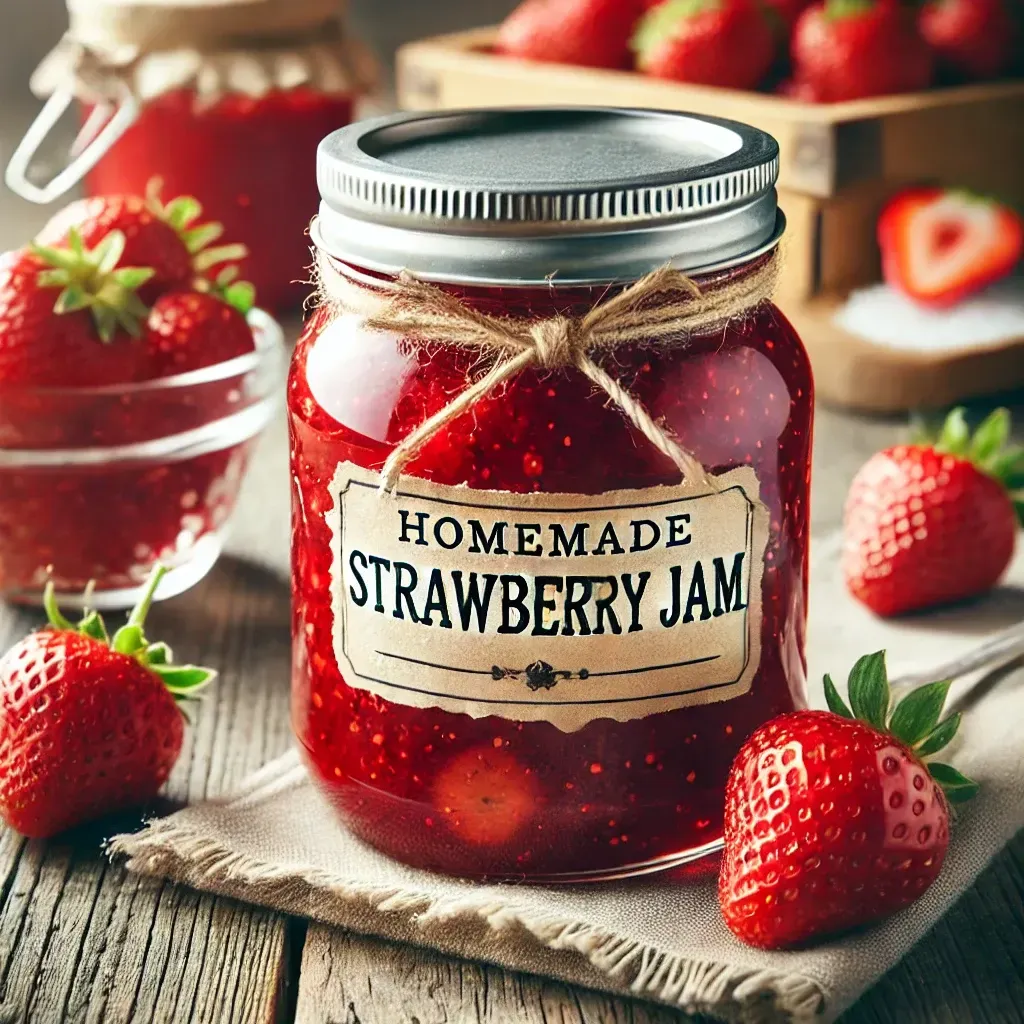
Homemade Strawberry Jam - How to can it for later
How to Can Homemade Strawberry Jam: A Step-by-Step Guide
Introduction
Making and canning your own strawberry jam is a rewarding process that captures the essence of fresh strawberries. This guide will walk you through the process, ensuring you follow FDA guidelines for safe canning methods. Proper canning not only extends the shelf life of your jam but also ensures it is safe for consumption.
Ingredients
5 cups crushed strawberries (about 3-4 lbs fresh strawberries)
7 cups granulated sugar
1 package (1.75 oz) powdered pectin
1/4 cup lemon juice (fresh or bottled)
Equipment
Water bath canner
Canning jars (pint or half-pint)
Lids and bands
Jar lifter
Lid lifter
Funnel
Large pot
Ladle
Potato masher
Measuring cups
Kitchen towels
Instructions
Prepare Your Equipment
Sterilize your canning jars: Wash them with warm soapy water, rinse well, and place them in a water bath canner or large pot. Cover with water and bring to a simmer (not a boil) until ready to use.
Prepare the lids and bands: Follow the manufacturer's instructions, usually involving simmering (not boiling) the lids in hot water.
Prepare the Strawberries
Wash the strawberries thoroughly under cold running water.
Hull the strawberries by removing the green caps and stems.
Crush the strawberries using a potato masher or a food processor, being careful not to puree them completely – you want some chunks for texture.
Cook the Jam
In a large pot, combine the crushed strawberries, lemon juice, and powdered pectin. Stir well.
Bring the mixture to a full rolling boil over high heat, stirring constantly.
Add the sugar all at once and return to a full rolling boil. Boil hard for 1 minute, stirring constantly.
Remove from heat and skim off any foam with a metal spoon.
Fill the Jars
Using a funnel, ladle the hot jam into sterilized jars, leaving 1/4-inch headspace at the top.
Wipe the rims of the jars with a clean, damp cloth to remove any residue.
Place the lids on the jars and screw on the bands until fingertip tight.
Process the Jars
Place the filled jars into the water bath canner using a jar lifter. Ensure the jars are covered by at least 1-2 inches of water.
Bring the water to a rolling boil and process the jars for 10 minutes. If you live at an altitude above 1,000 feet, adjust the processing time according to the altitude adjustment chart provided by the FDA.
Cool and Store
After processing, carefully remove the jars from the canner and place them on a kitchen towel. Allow them to cool undisturbed for 12-24 hours.
Check the seals: The lids should not flex up and down when the center is pressed. If any jars have not sealed properly, refrigerate them and use within a few weeks.
Label the jars with the date and store them in a cool, dark place. Properly sealed jars can be stored for up to one year.
A Family Favorite at KrisandLarry.com
This homemade strawberry jam is one of our go-to jams in our household and on our homestead at KrisandLarry.com. All the kids—Trystan, Grayson, Rowan, and Berlyn—grab this jar first when they are making PB & J sandwiches or enjoying their morning English muffins or toast. The fresh, sweet flavor of this jam is a beloved staple in our family kitchen.
Conclusion
Canning your homemade strawberry jam is a great way to preserve the taste of summer all year long. By following these FDA guidelines, you can ensure your jam is safe, delicious, and ready to be enjoyed by your family and friends. Happy canning!
About Us
We are a large, Christian, homeschooling homesteading family from Chino Valley, Arizona. (2 parents - Kris and Larry, 8 kids, some not so little any more and 3 spouses of the kids)
We have a fun Youtube channel, a blog, and a homestead shop with goat milk soap and lotion, signs, jewelry & more.
Copyright© 2025 KrisandLarry - All Rights Reserved.


Facebook
Instagram
Youtube
TikTok